
You could suddenly find yourself without clean drinking water during a water-related emergency, such as damage to a treatment plant or contamination of your local water system. One way to be prepared is by storing a supply of water that your family can get by on for several days or longer.
In a water emergency, the Centers for Disease Control and Prevention recommends storing at least one gallon of water per person per day for at least three days for drinking and sanitation. However, they strongly suggest stashing away a two-week supply if you’re able. And, if you live in a hot climate or have a family member who is pregnant or ill, consider storing even more.
There is nothing wrong with buying cases or jugs of bottled water, particularly if you use your supply and replenish it regularly. Most bottled water manufactured in the U.S. list an expiration date. But of course, water itself doesn’t “expire.” Rather, when water is stored for a long time in plastic bottles, the plastic can leach into the water, contaminating it with chemicals. Over time, these compounds can harm gut health, immunity and respiratory function.
Canning Water At Home
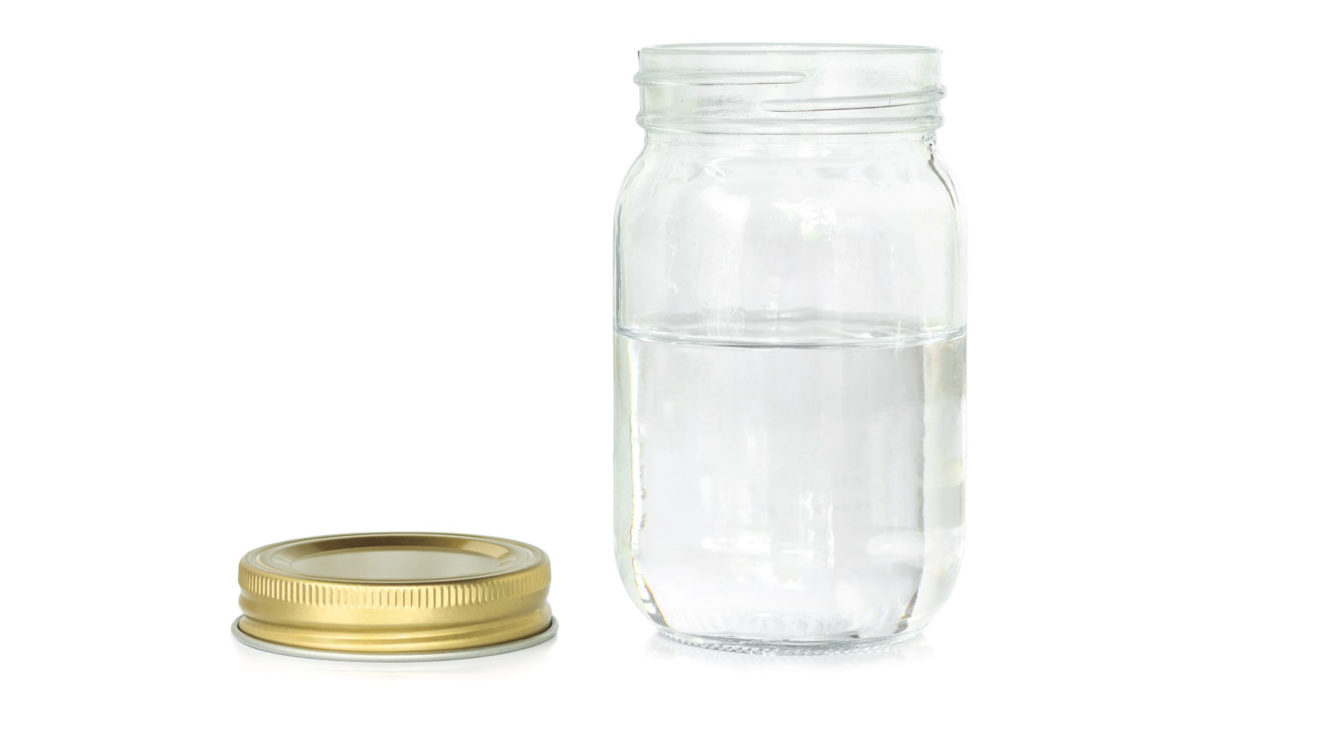
One easy and affordable way to create a water reserve at home is to can it yourself. You will need standard canning jars with flat metal lids held in place by a metal screw band during processing. Of course, you will also need water. When it comes to canning the water, you have a couple of options.
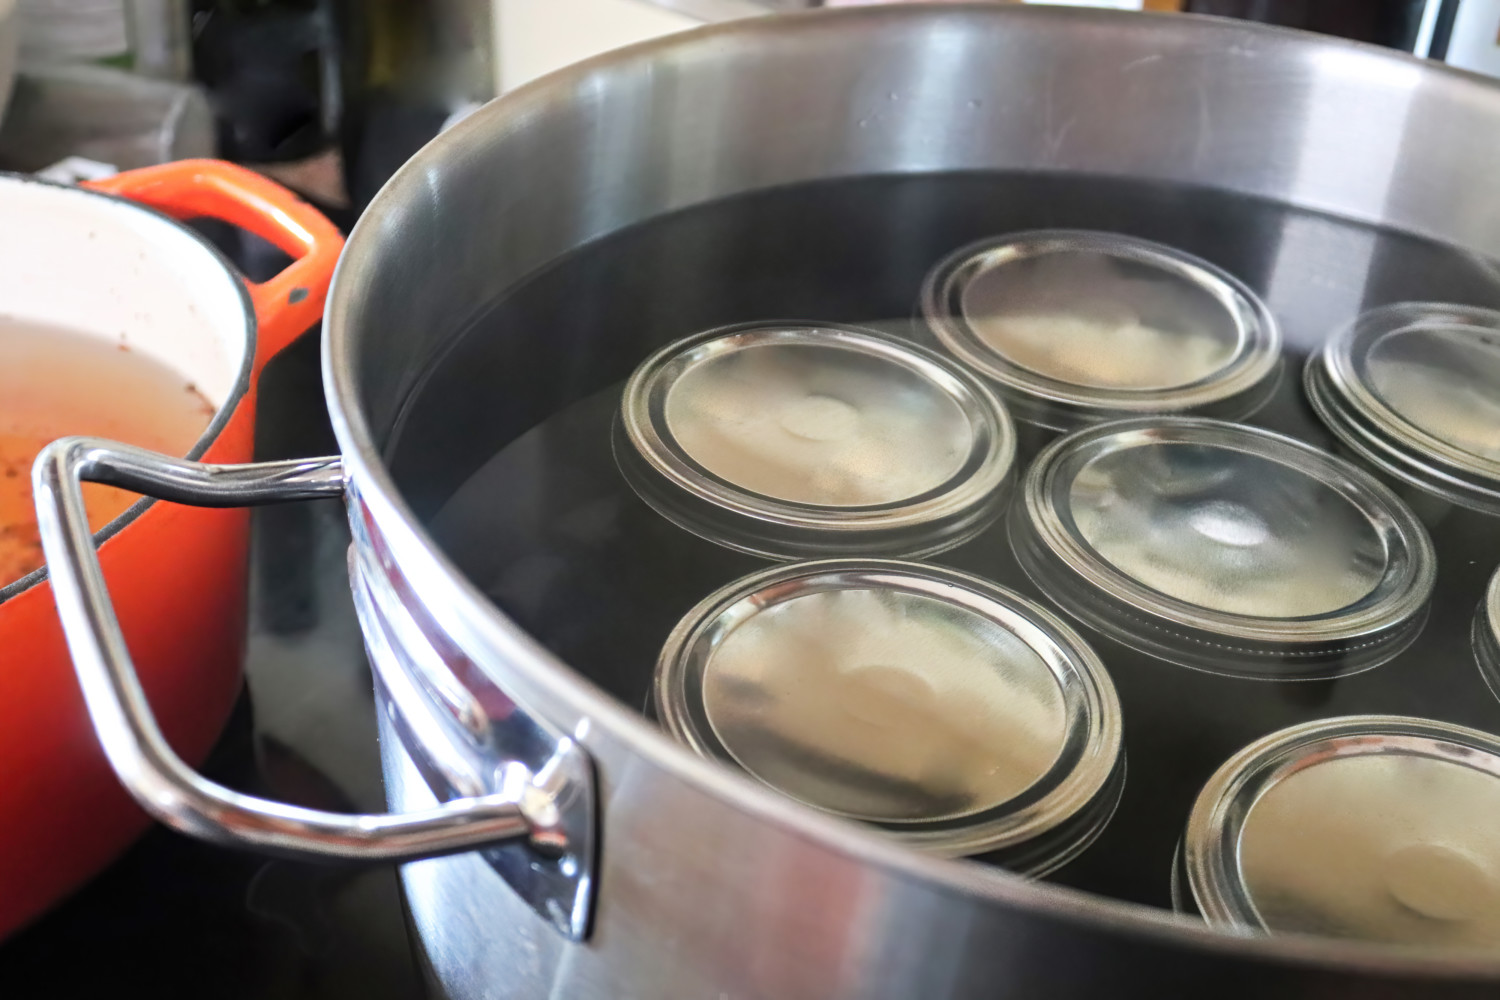
One method of canning is to use a water bath canner, which is basically a large pot that usually has a removable rack on the inside that suspends jars off the bottom of the pot. With this method, you must wash the containers and lids thoroughly in hot water right before processing, fill the canner halfway with water and heat it to 140F. Fill the jars with water to within an inch of the top, wipe each edge with a clean cloth and screw on both pieces of the lid tightly. Set the jars on the canner rack and bring the water in the canner to a vigorous boil. Put the lid on the canner and reduce to a gentle boil for 20 minutes, adding more boiling water if necessary.
Remove from heat, take off the canner cover and carefully take the jars out using a jar lifter. Set them on a clean towel, leaving at least an inch of space between each jar, and allow them to cool for 12 to 24 hours.
Another way to can water at home is to boil tap water in a stainless pot for at least five minutes and heat the jars in the oven at 175F, or in your dishwasher right before canning. Use a glass measuring cup or a ladle to dip the boiling water from the pot and pour it into the warm jars. Fill the jars with water within an inch of the top and screw on both pieces of the lid tightly. Turn the jars upside down immediately and place them on a clean towel, leaving at least an inch of space between each jar. Allow them to cool for 12 to 24 hours.
How To Test Your Canning
No matter which method you use, test the seals by pushing down the center of the lid. If it moves down, the jar failed to seal and will need to be reprocessed. Since these processes sterilize the water and kill all organisms, you can store the jars indefinitely.